

How to Get Samsung's Scrolling Screenshot Feature on Any Android
Newer Samsung devices like the Galaxy Note 5 and Galaxy S7 come with a pretty cool feature that lets you take vertically-scrolling screenshots to capture an entire app or website. But right now, this is still a Samsung-exclusive feature, as it relies on the underlying TouchWiz framework to capture these long screenshots.
Fortunately, for those of us who don't own a new Galaxy device, developerGlitch has an incredibly easy workaround. His app will detect when you've captured multiple, overlapping screenshots in most cases, and automatically stitch them together seamlessly. The end result is a perfect replica of this Samsung feature, so you can take those same long, vertical screenshots on any Android device.
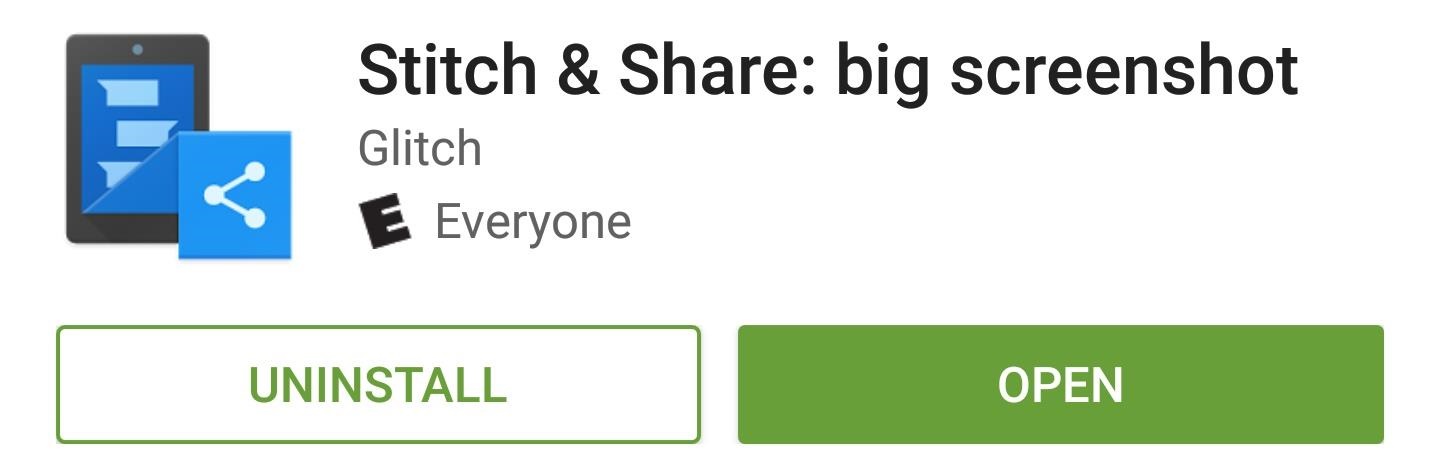
Step 1: Install Stitch & Share
The app that makes this all possible is called Stitch & Share and it's available for free on the Google Play Store. To begin, search the app by name and get it installed, or head directly to the install page at the following link:
Install Stitch & Share for free from the Google Play Store

Step 2: Get Long Screenshots Automatically
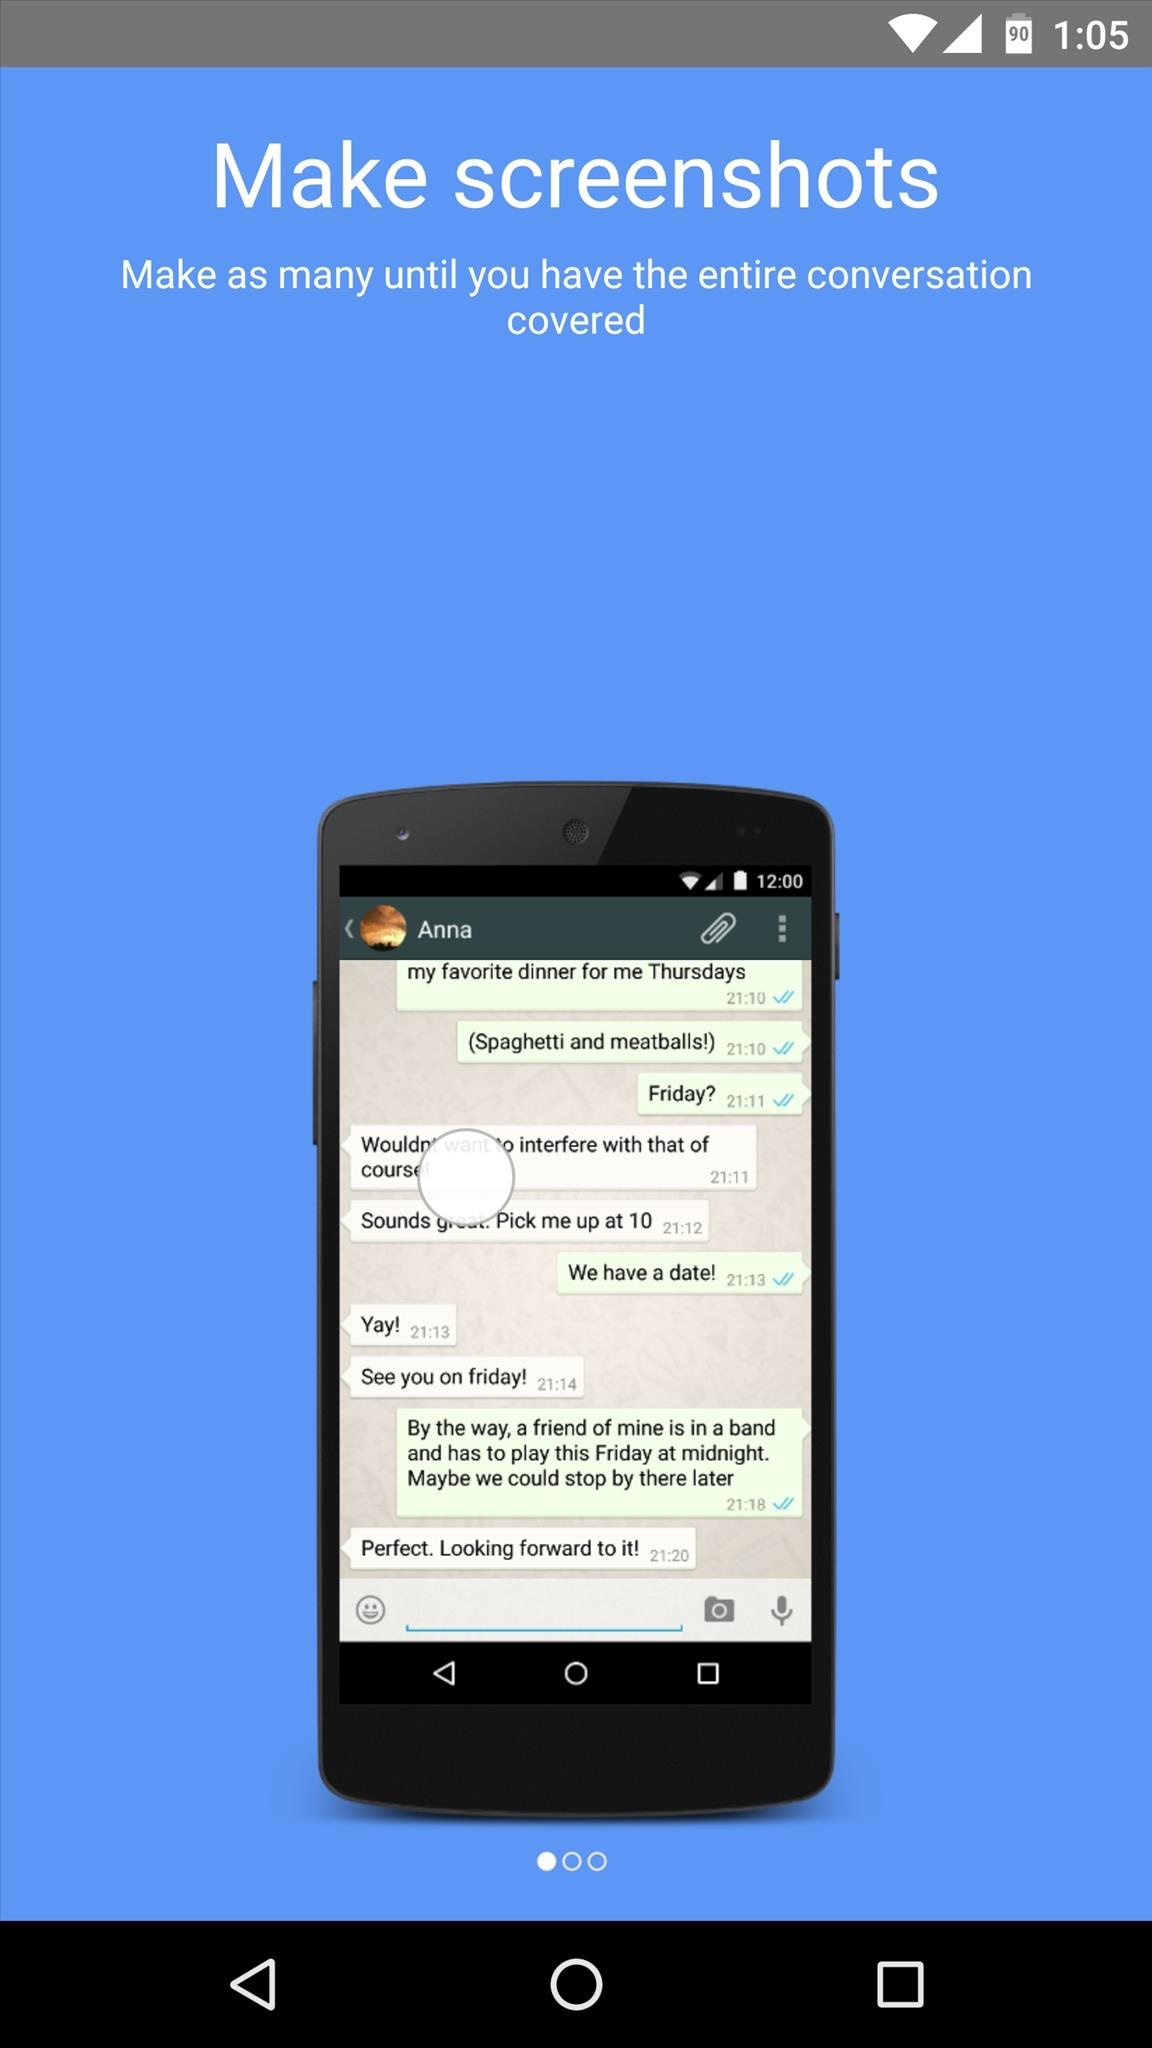
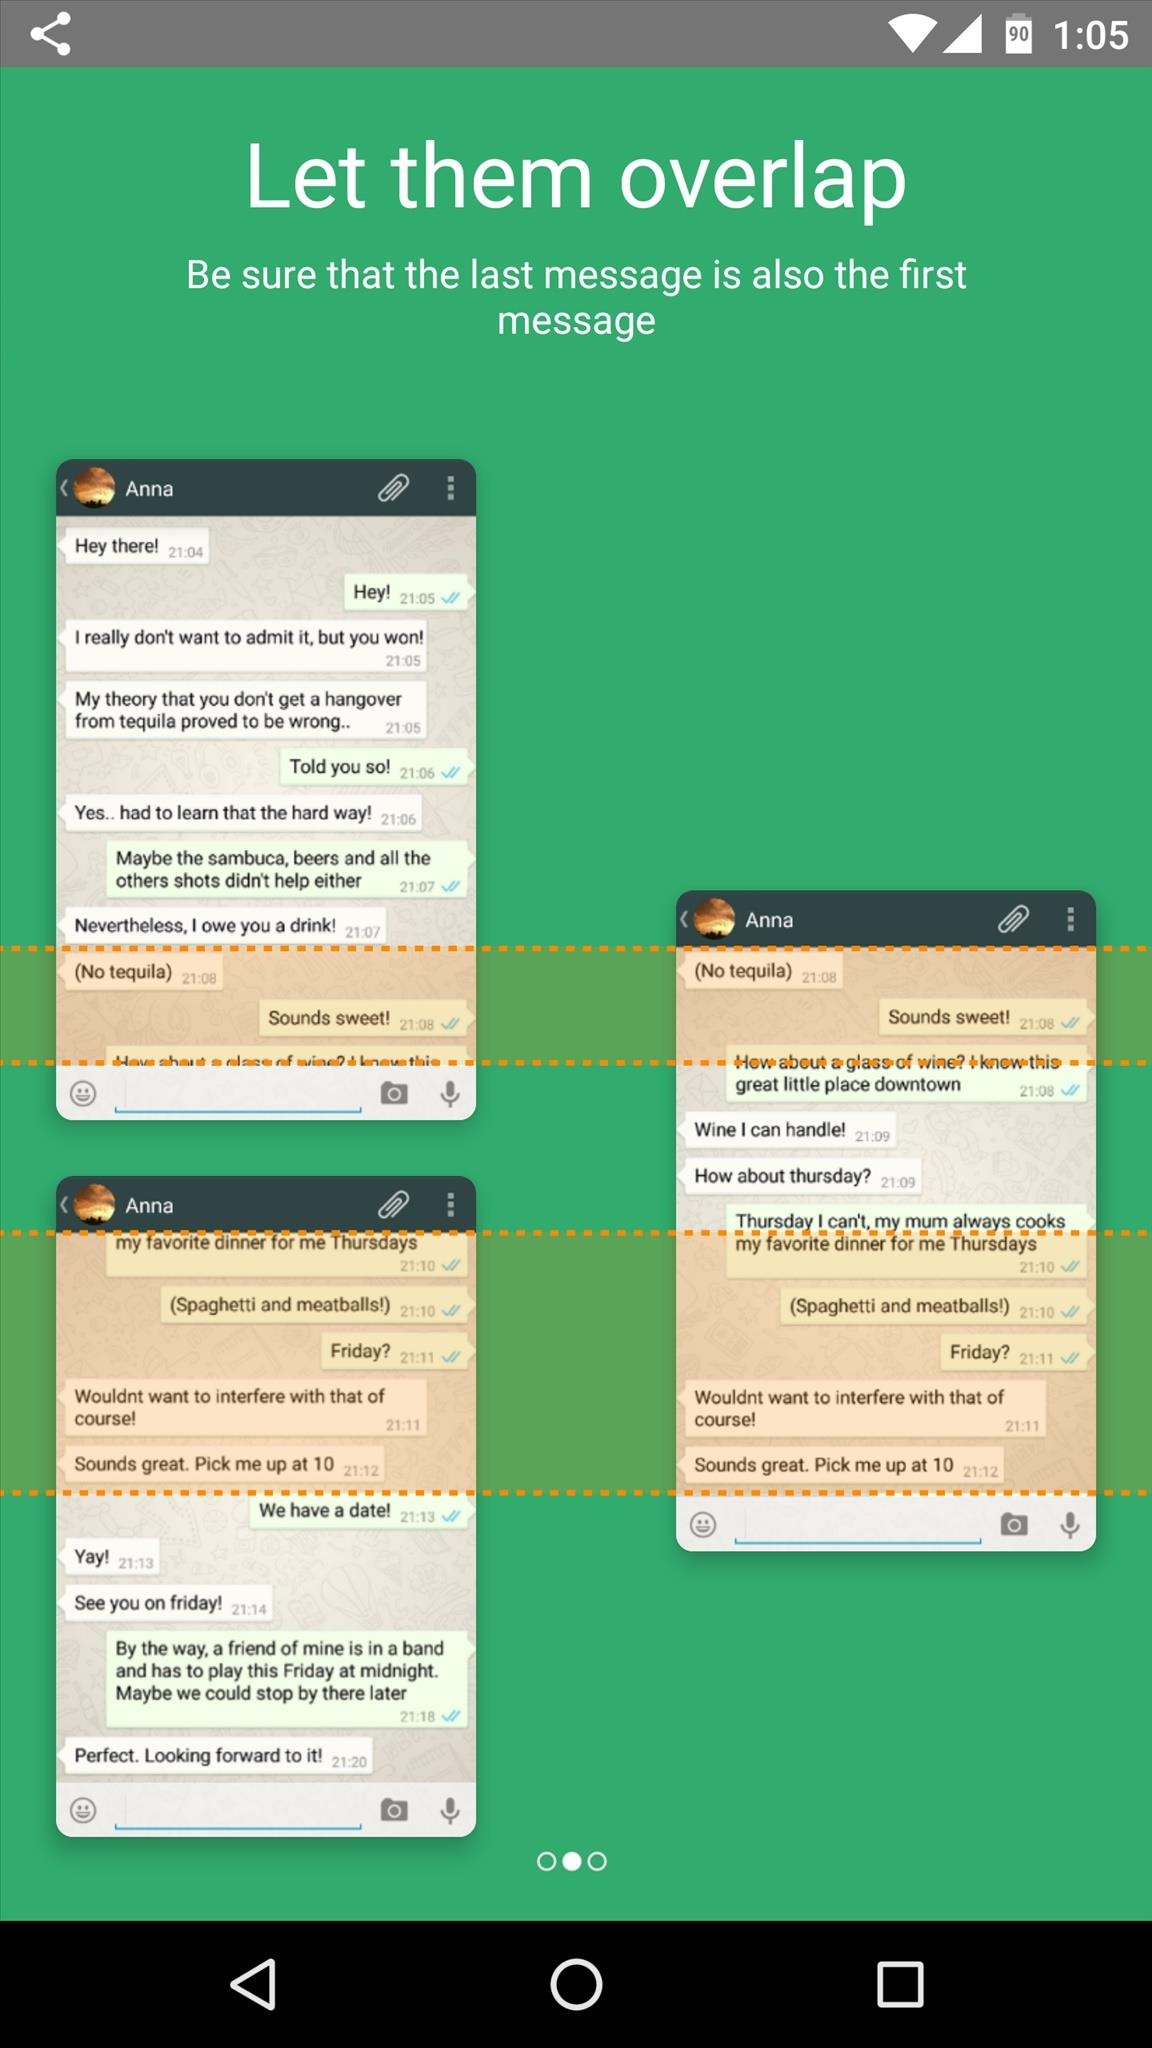
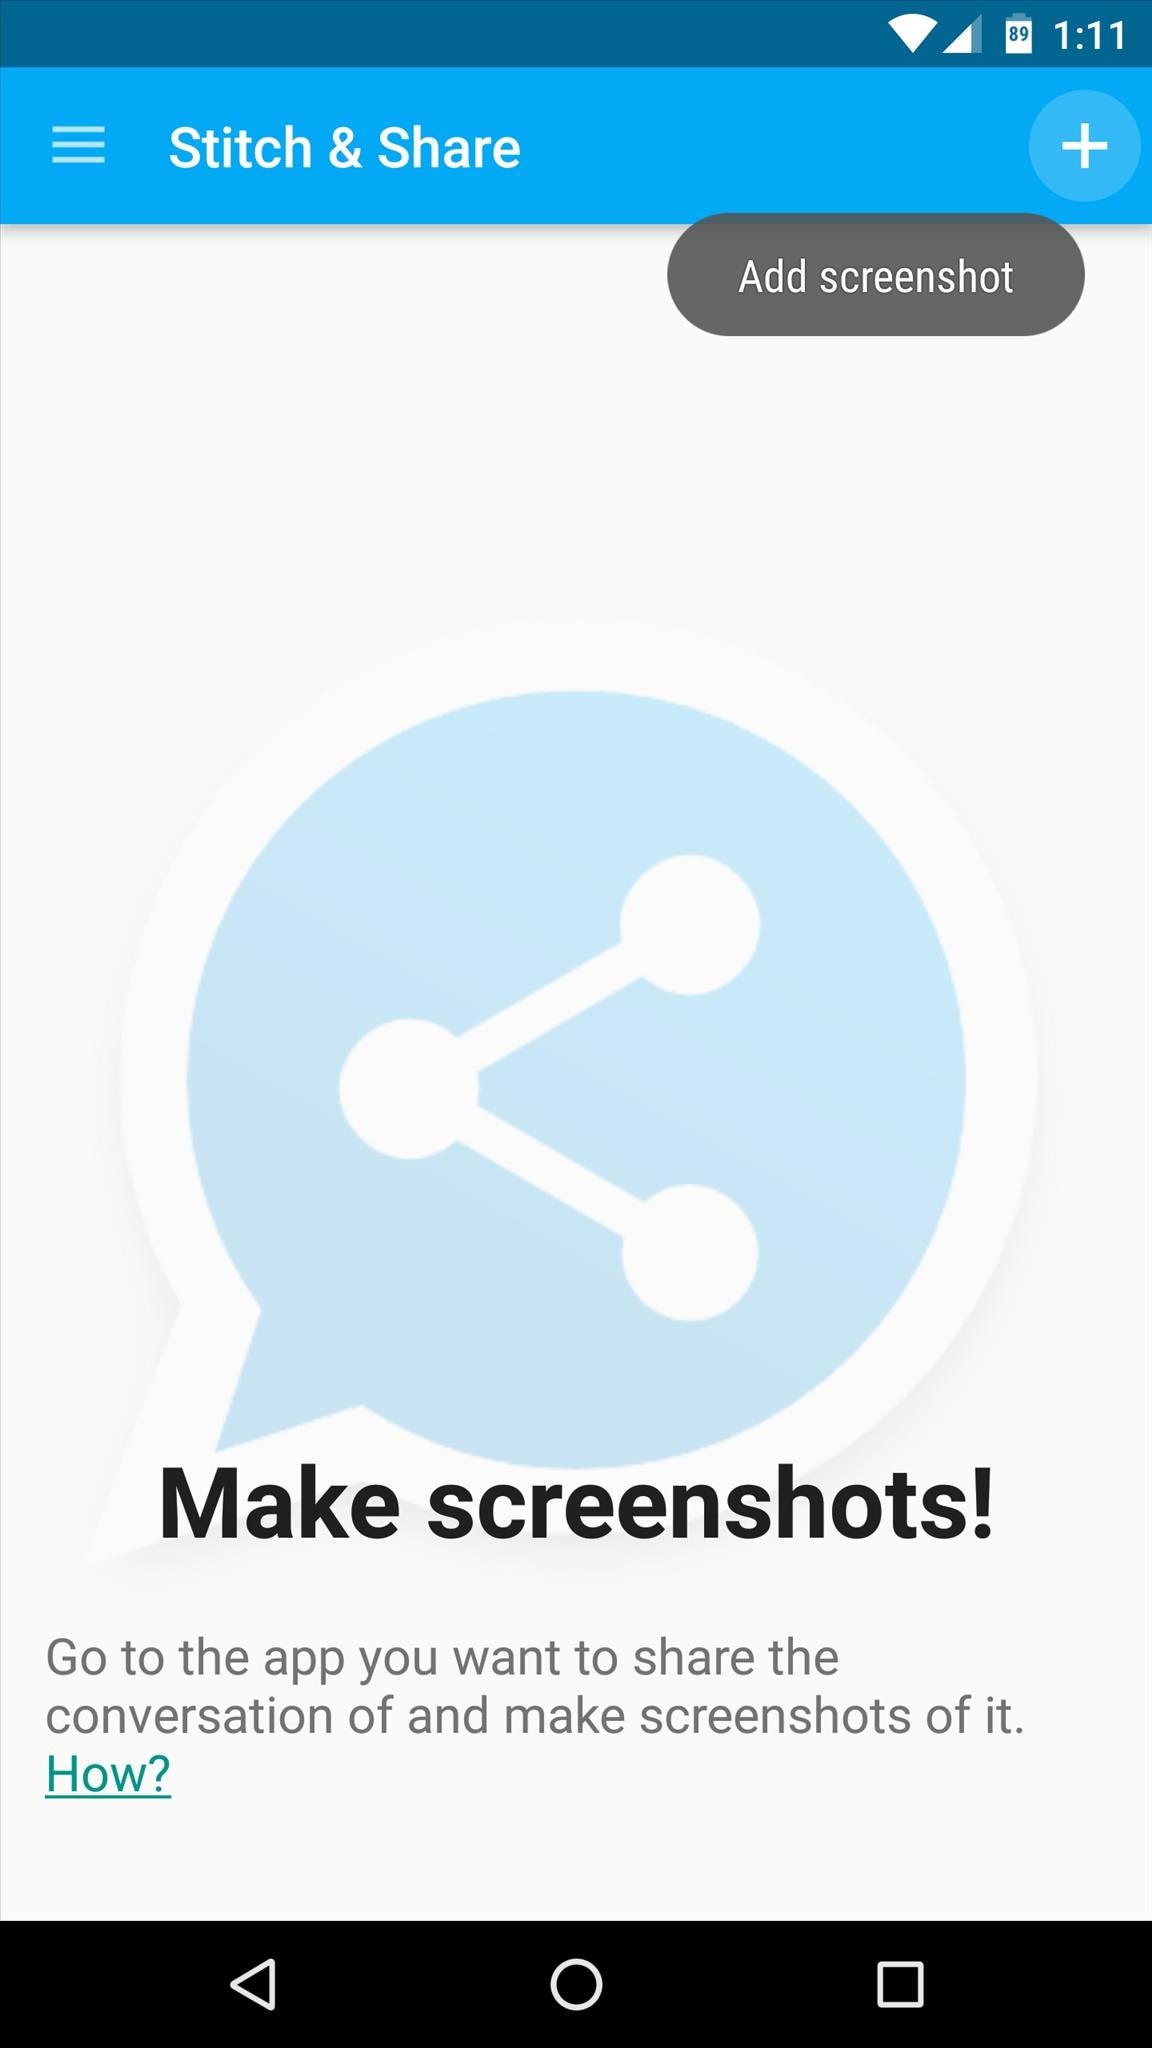
When you first launch Stitch & Share, you'll get a quick demo. As this explains, the vertical screenshot feature will work almost exactly the same as capturing a regular screenshot on your device. The only difference is that you'll need to take multiple, overlapping screenshots of the vertically-scrolling app—and when you've done with that, Stitch & Share will automatically detect the screenshots, stitch them together, and post a notification to inform you that your long screenshot is ready.


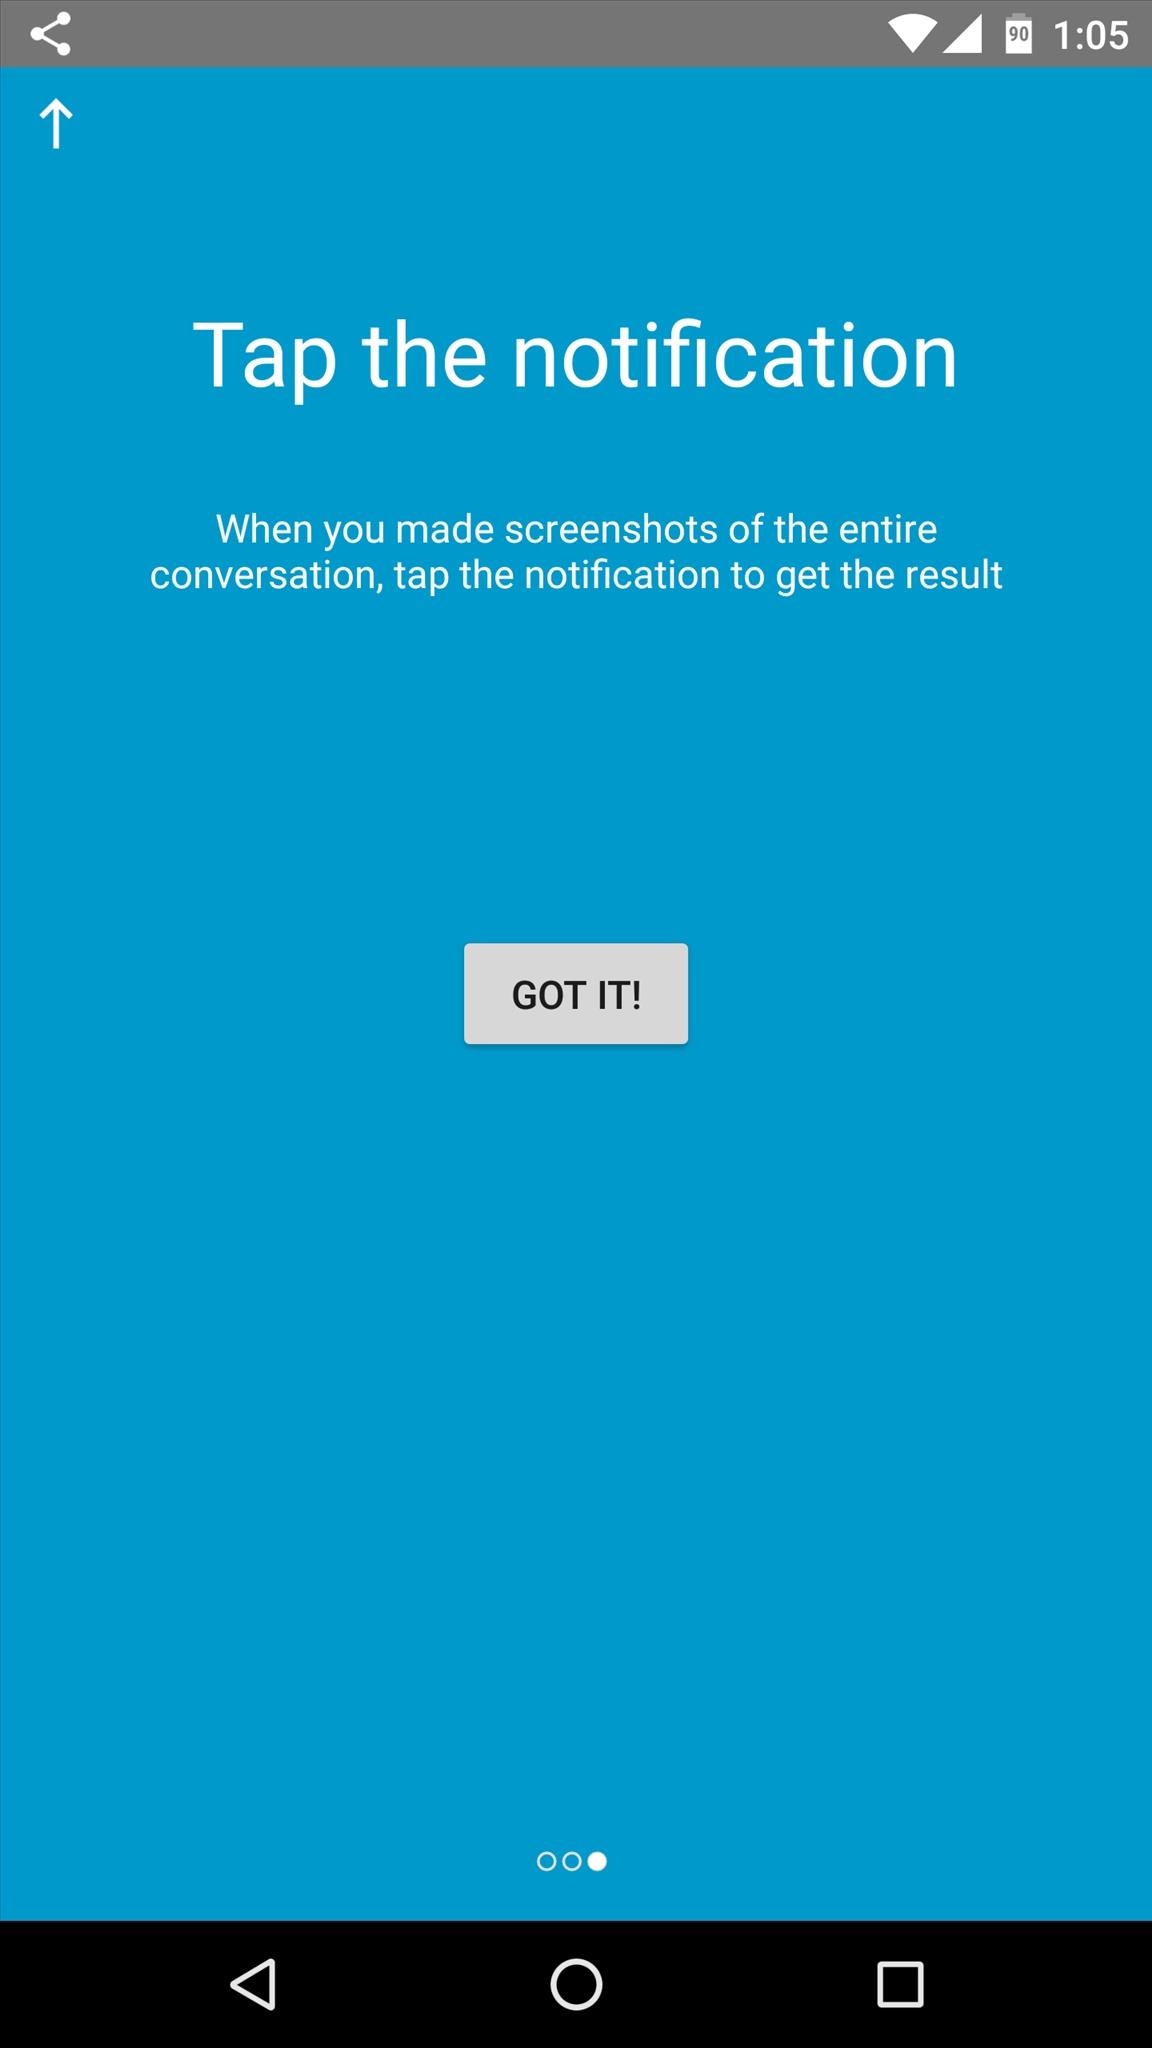
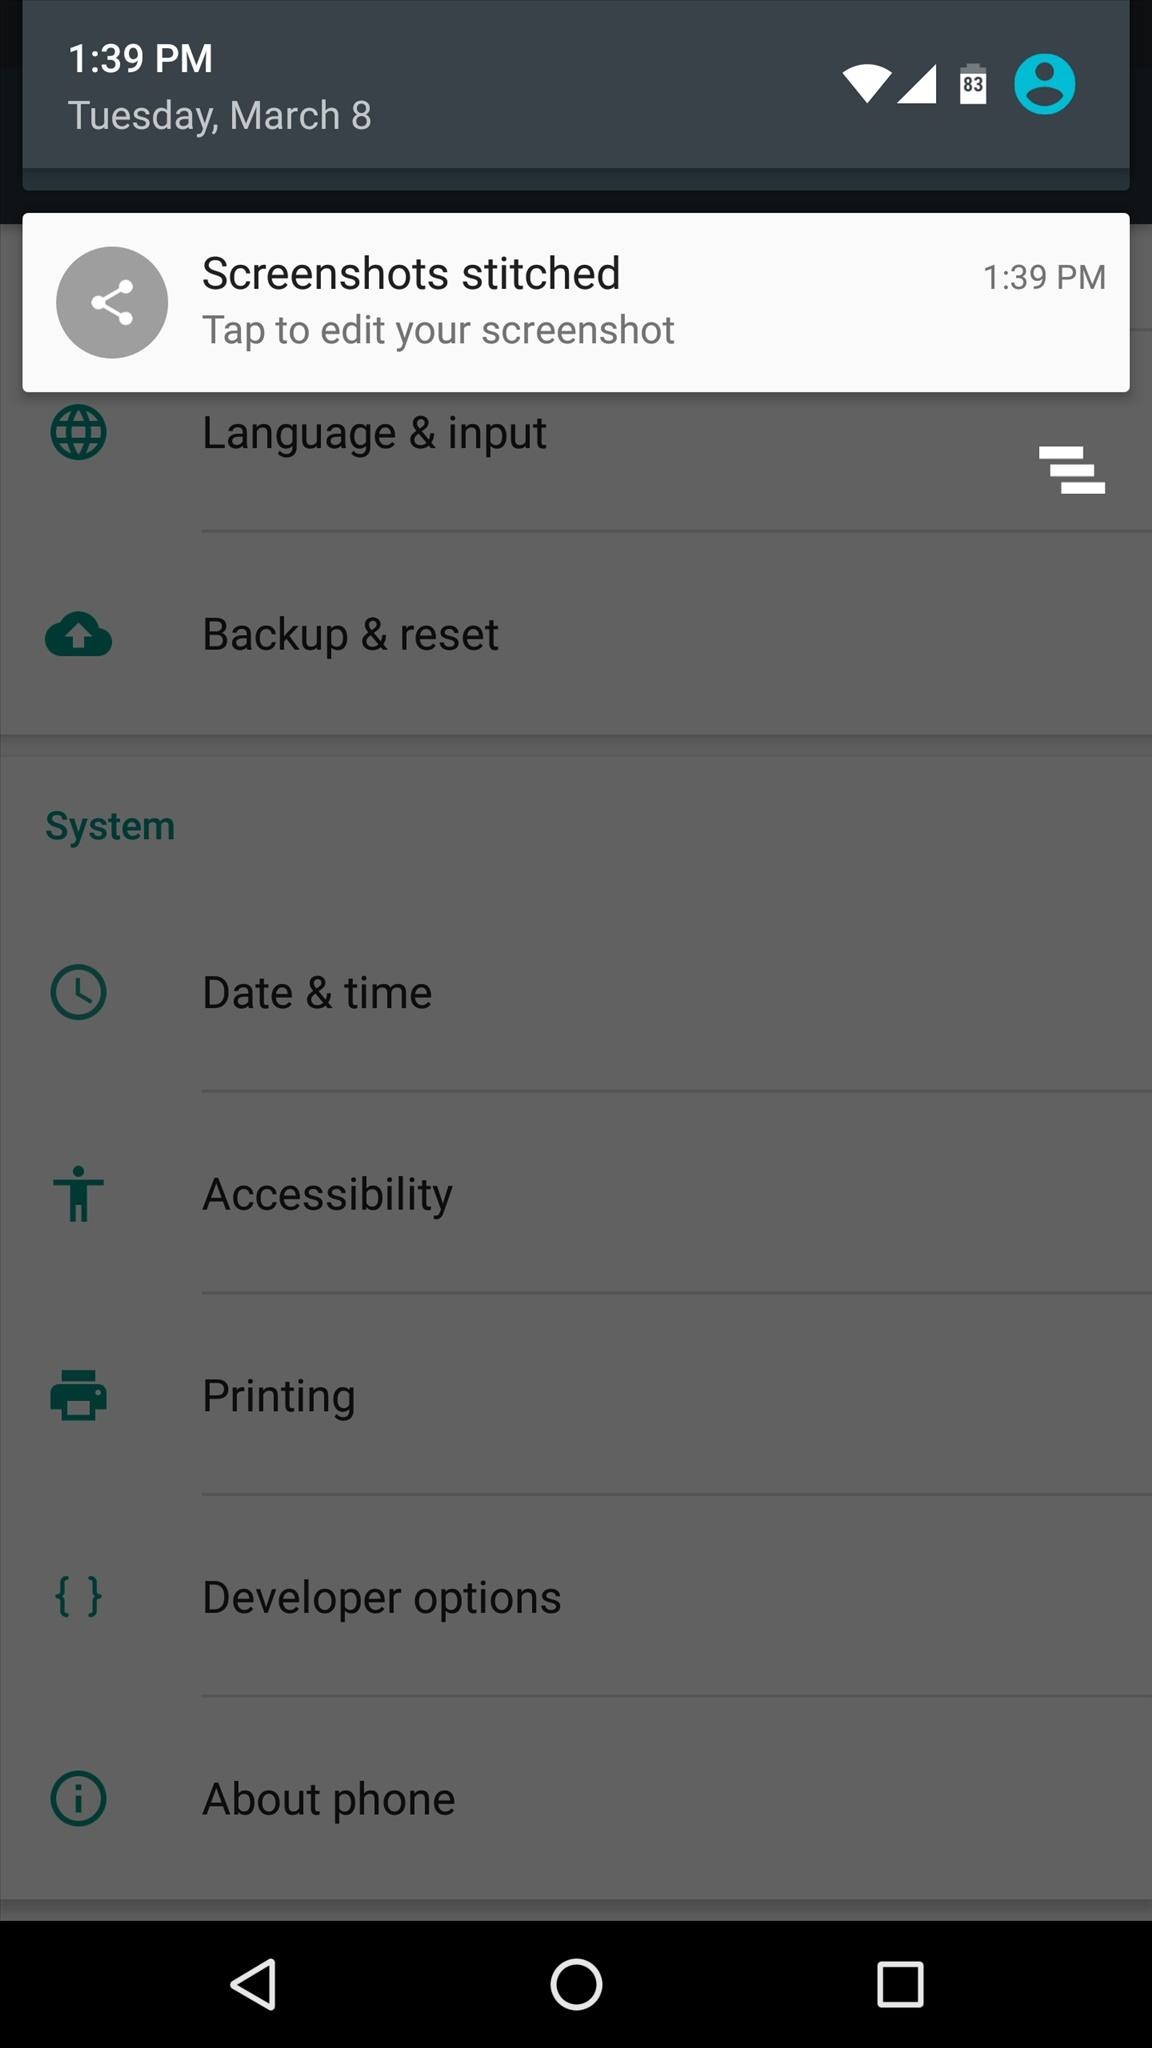
So like the tutorial says, just take a series of screenshots to try it out. When Stitch & Share detects multiple overlapping screenshots, you'll see a notification that says "Screenshots stitched." Just tap this notification to view the long screenshot that was automatically created, then press the share button in the bottom-right corner of your screen to save or share your screenshot (more on this in Step 4 below).


Step 3: Create Long Screenshots Manually
Occasionally, Stitch & Share won't automatically detect that you've taken multiple, overlapping screenshots. But that's no biggie, because it's almost as easy to manually create your own long screenshots.
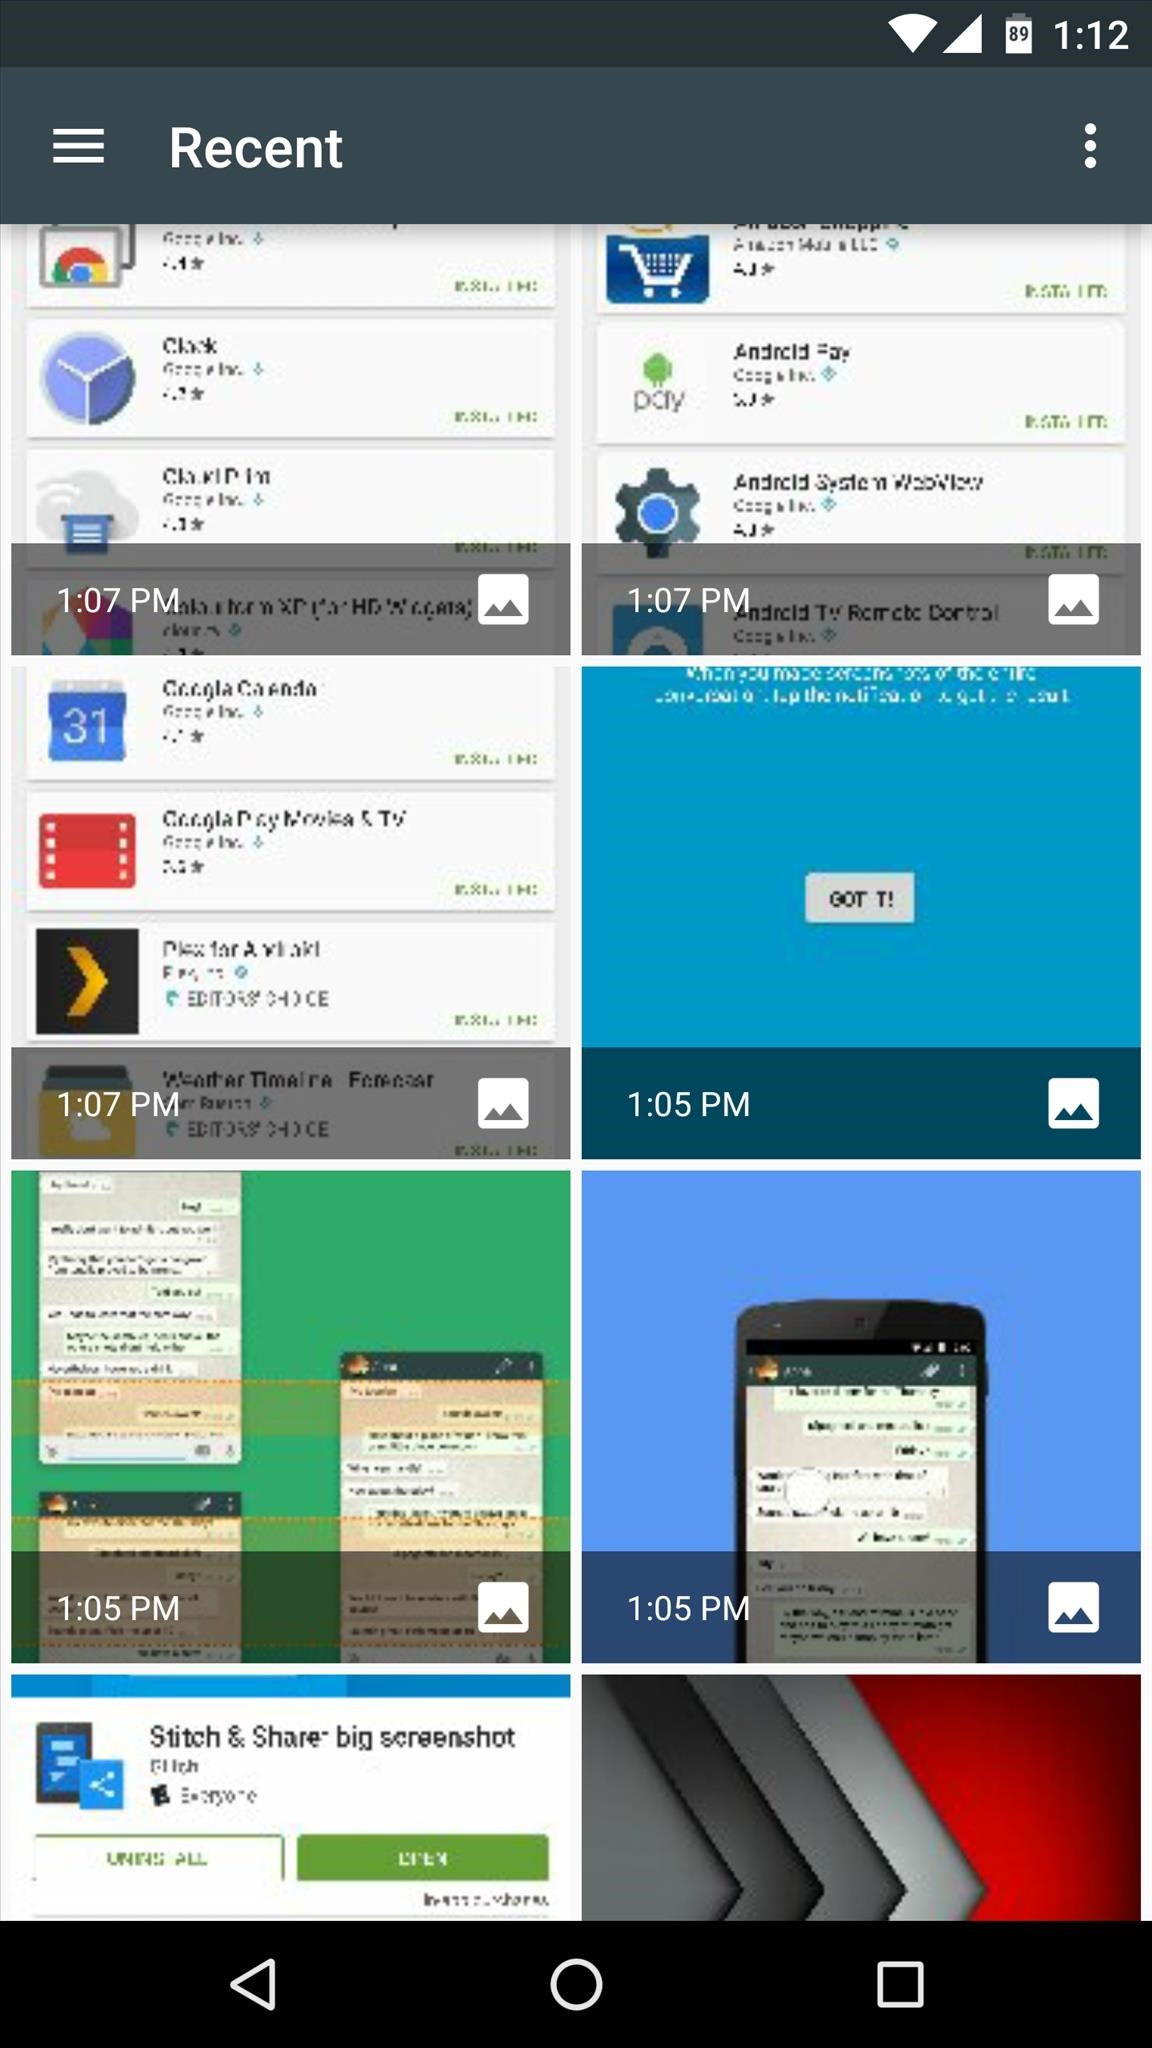
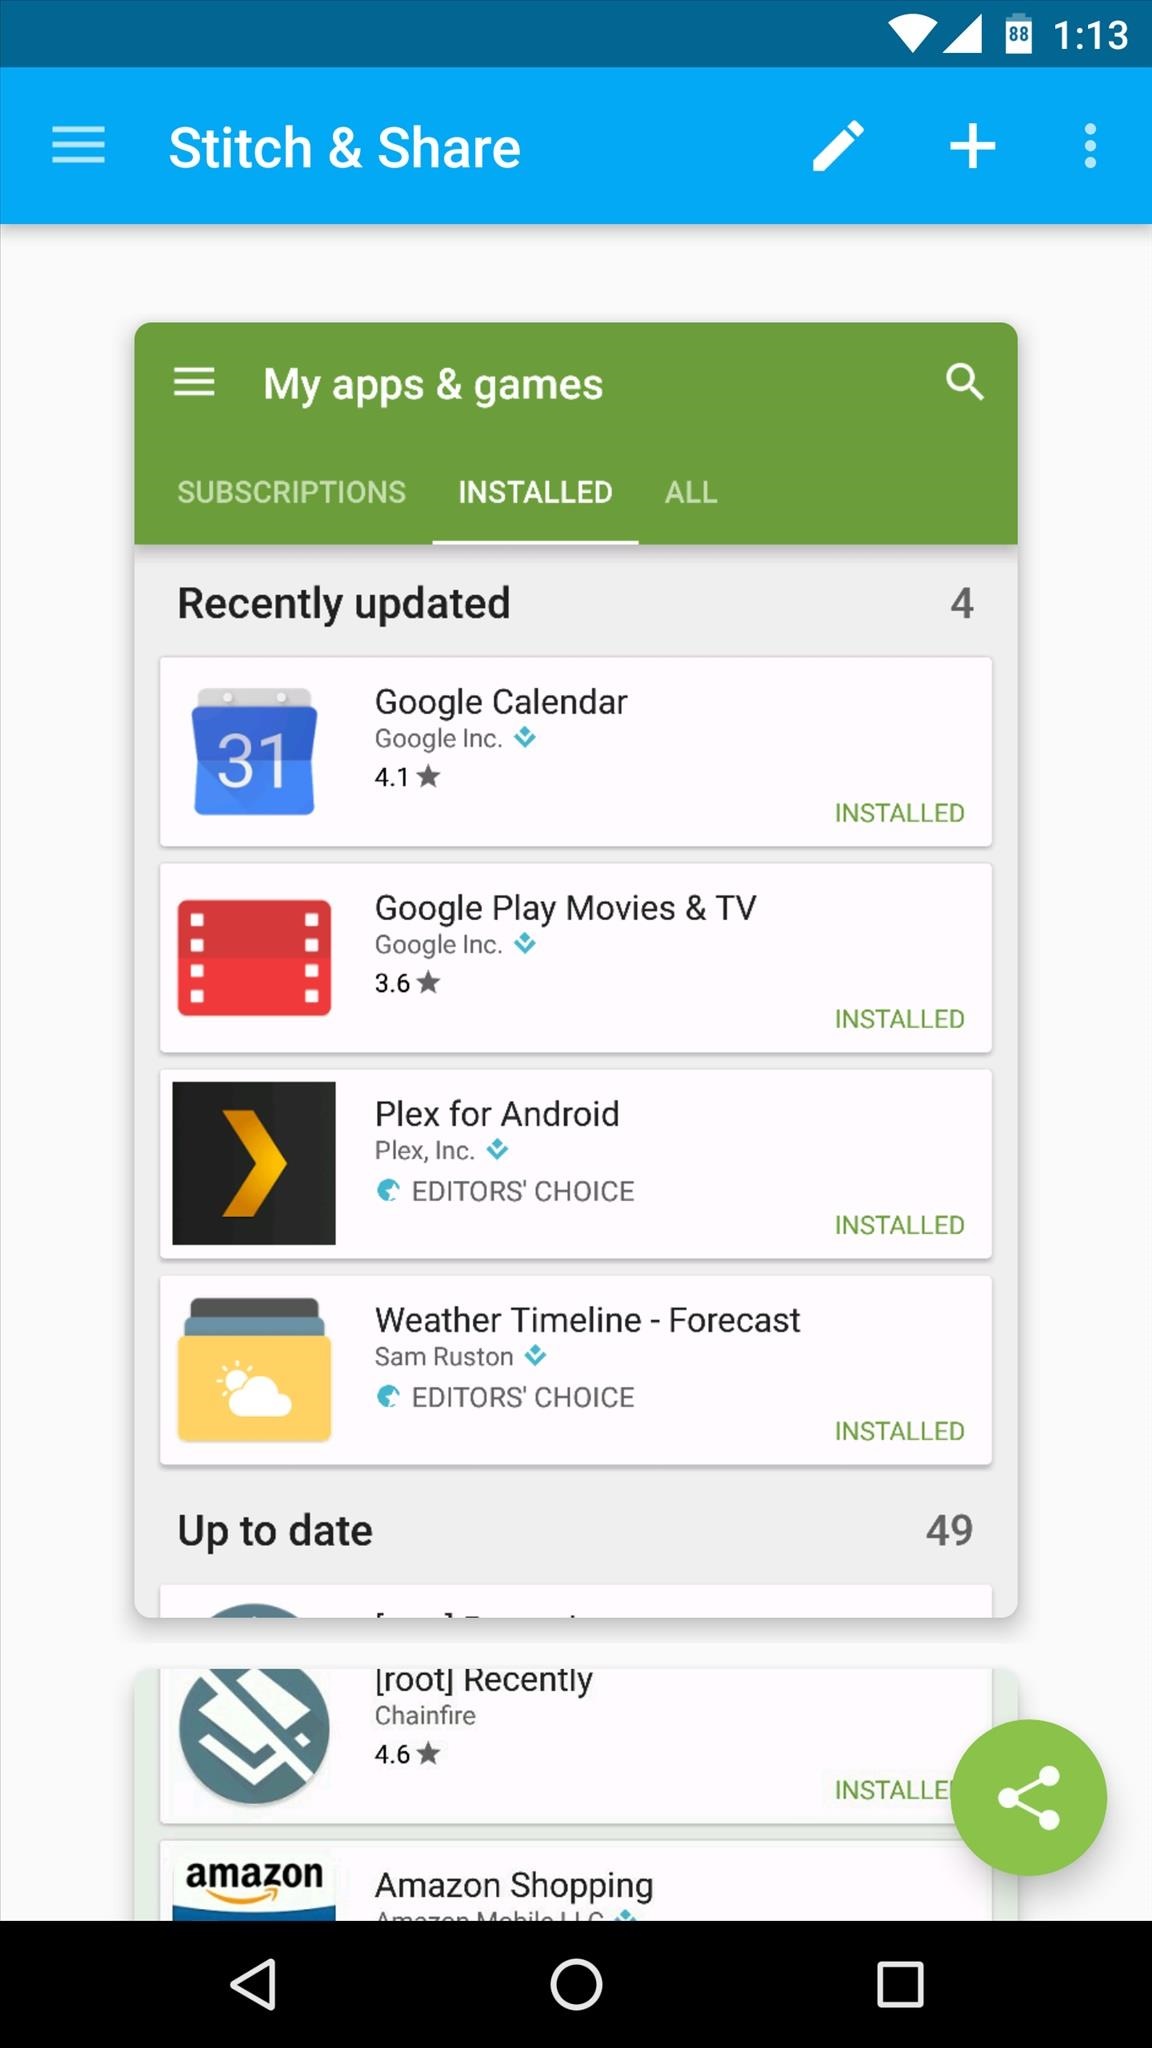
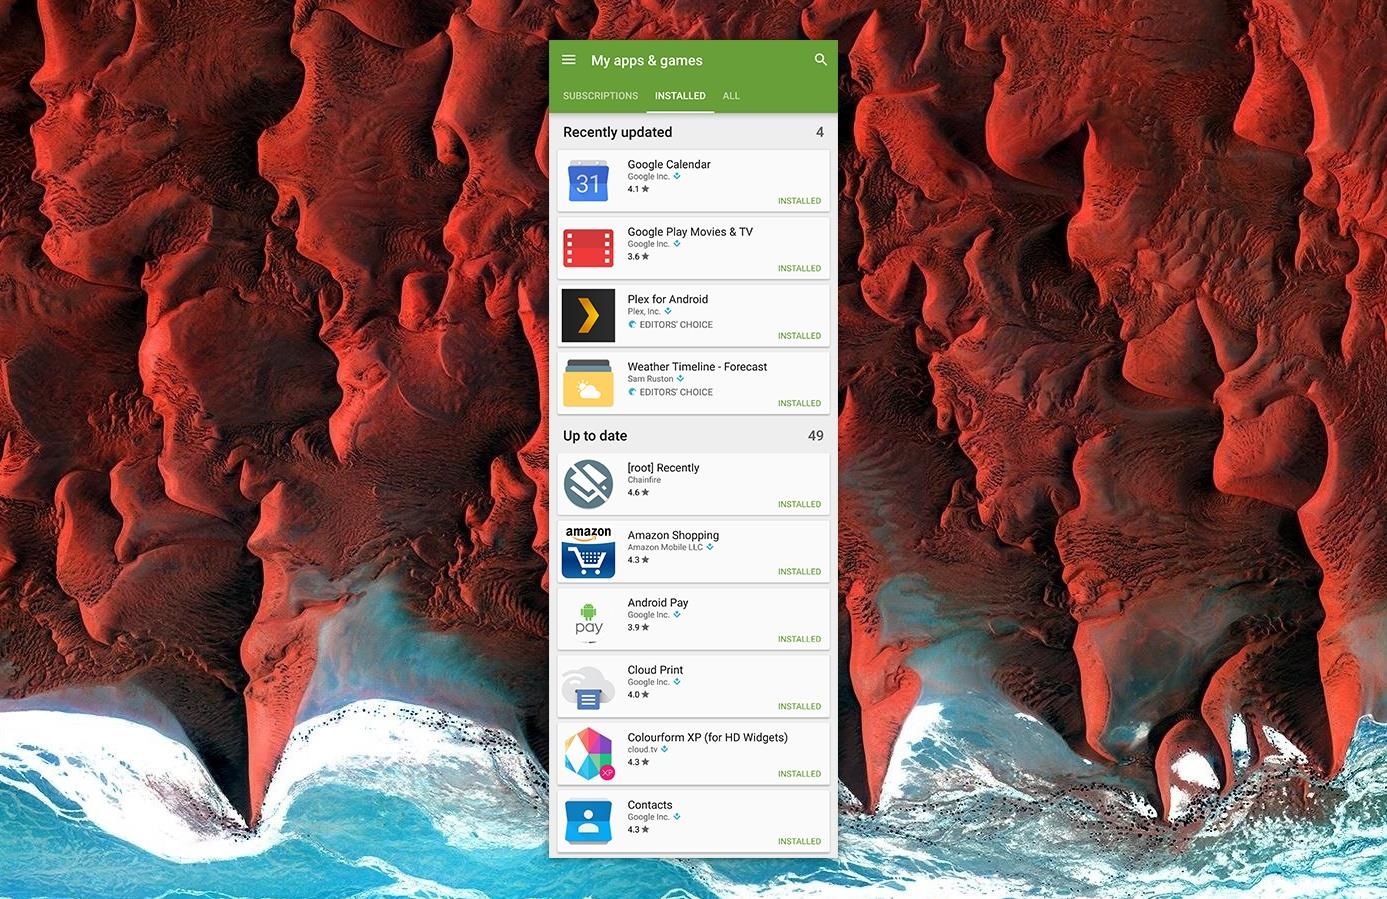
To use this method, simply open the Stitch & Share app, then press the +button in the top-right corner. From here, use the following menu to select the topmost screenshot in the series.


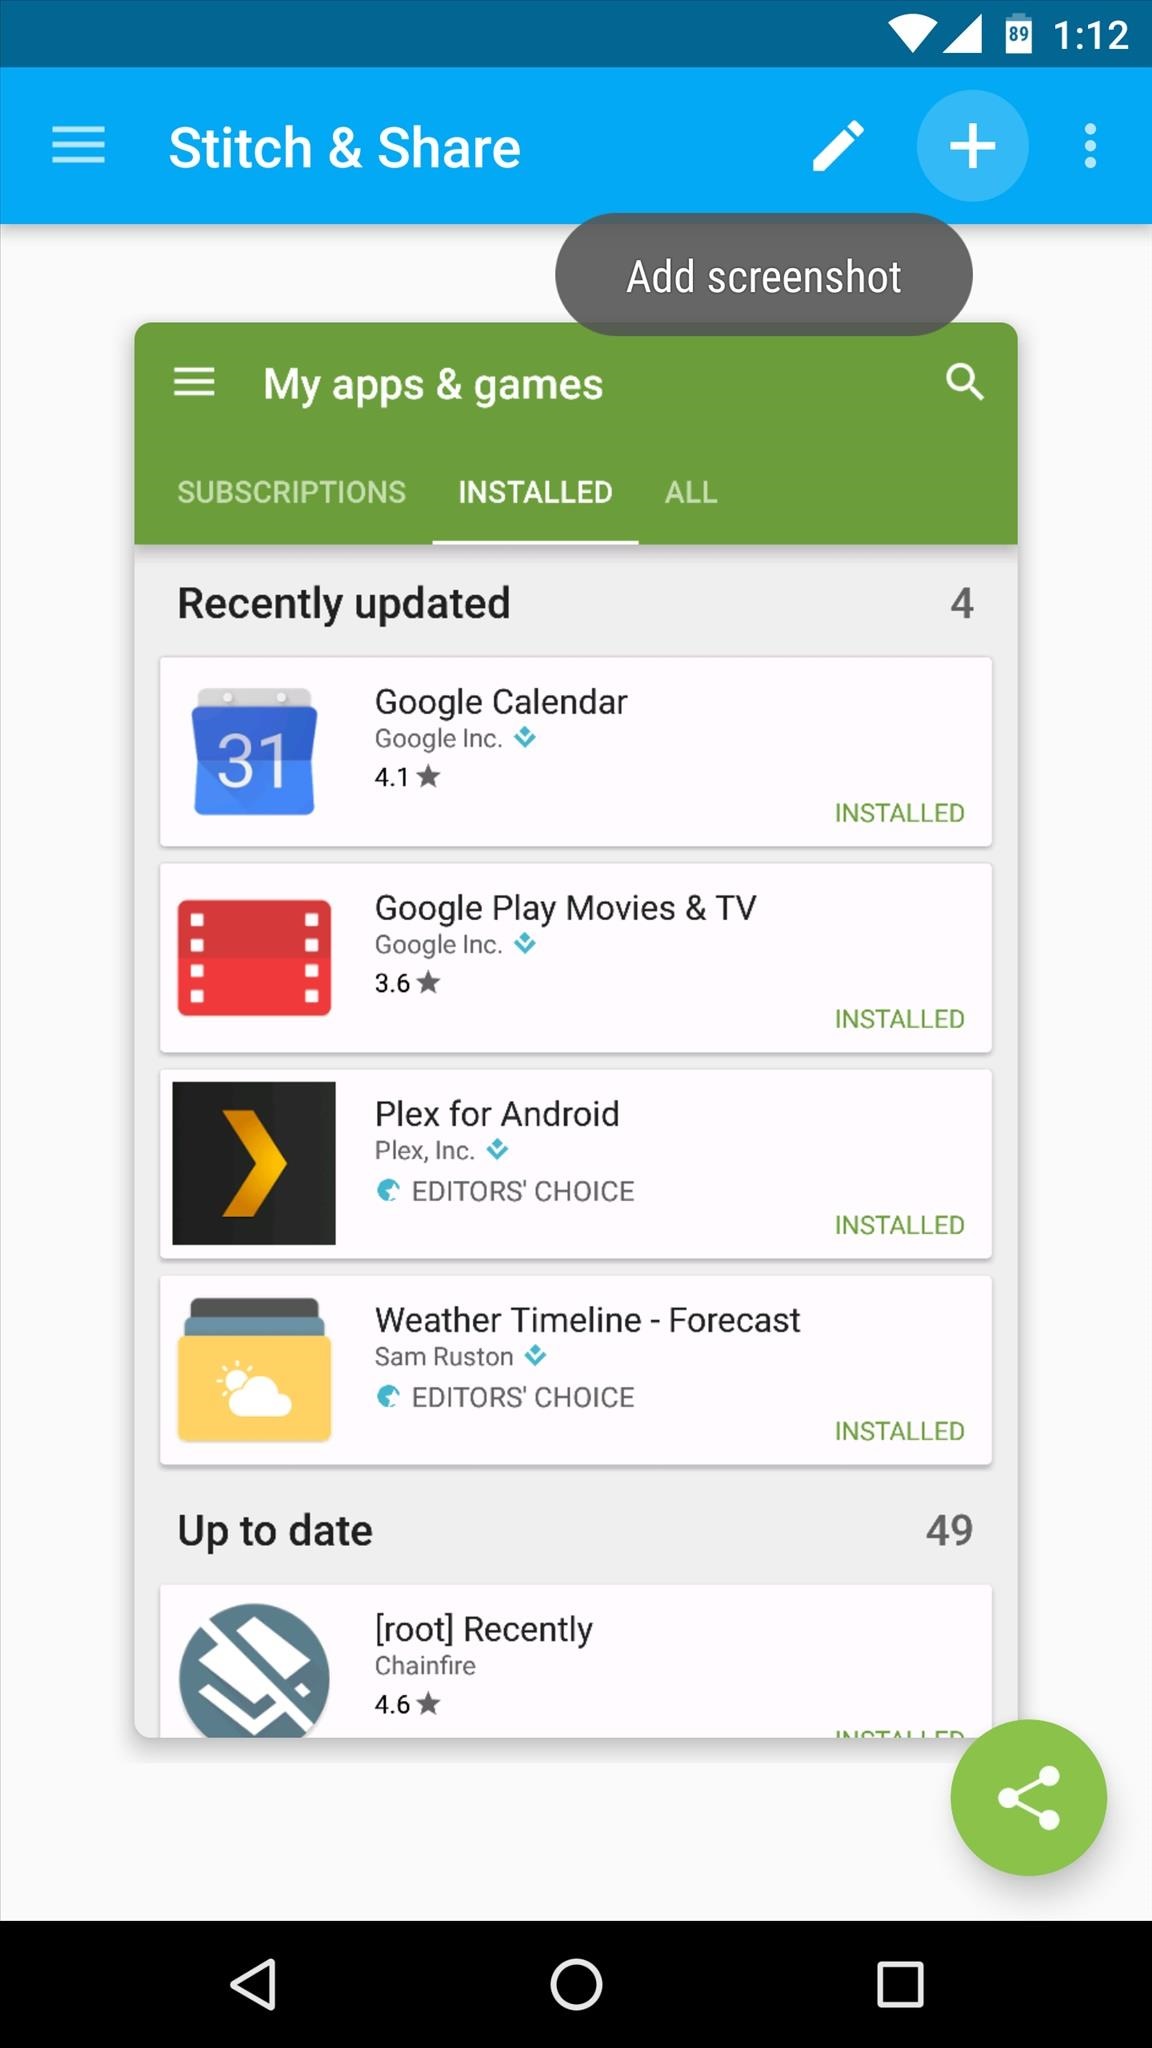
Next, tap the + button again to add the second screenshot in your series, then repeat this same process for any remaining screenshots. Once you've added all of the images, you'll see that Stitch & Share has automatically aligned all of your screenshots into one continuous picture.


Step 4: Share or Save Your Screenshots
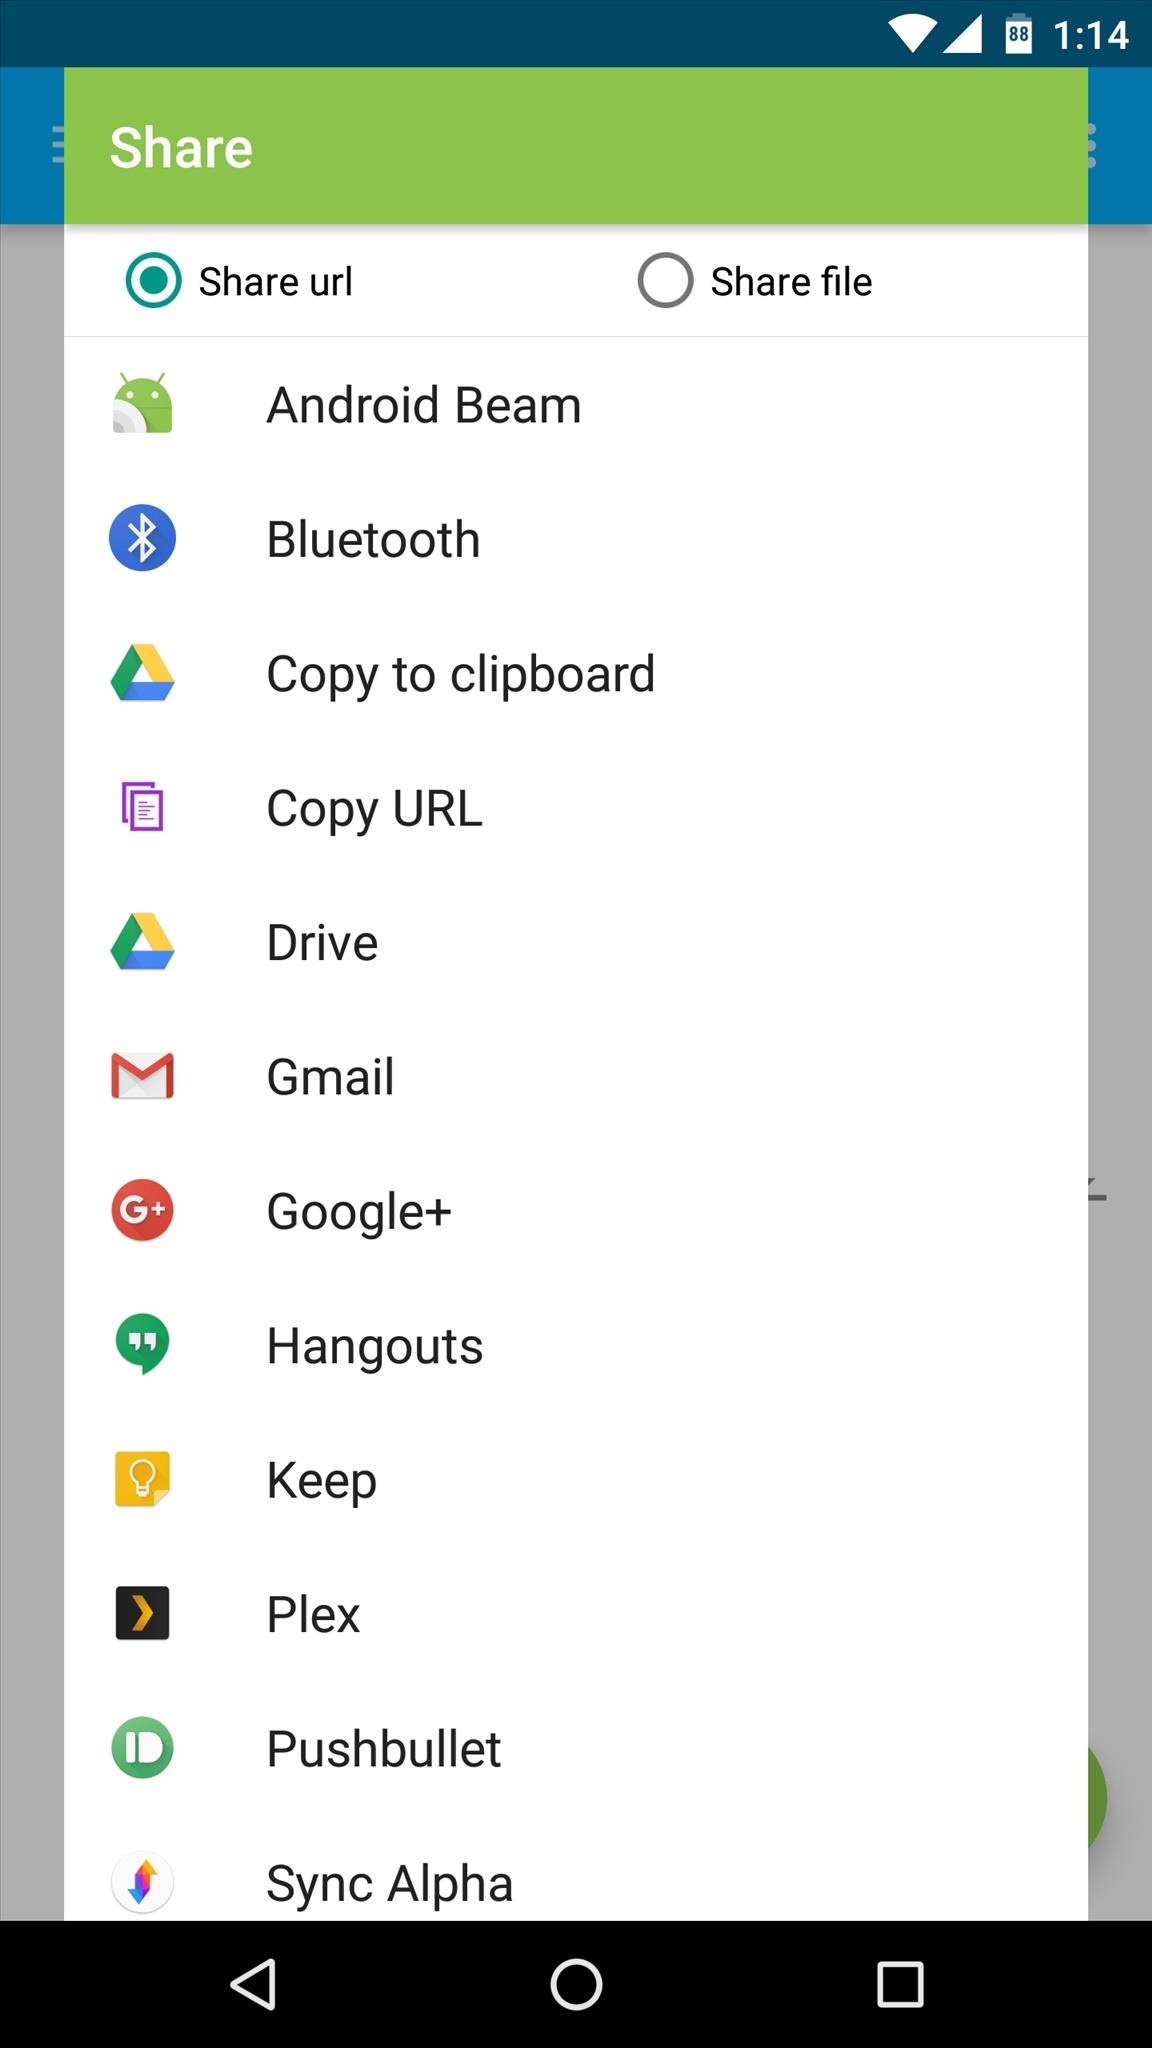
Whether you made your long screenshot manually, or Stitch & Share did it for you automatically, saving or sharing the image will be the same process. To begin, simply tap the share button in the bottom-right corner of Stitch & Share's main menu while viewing your long screenshot.
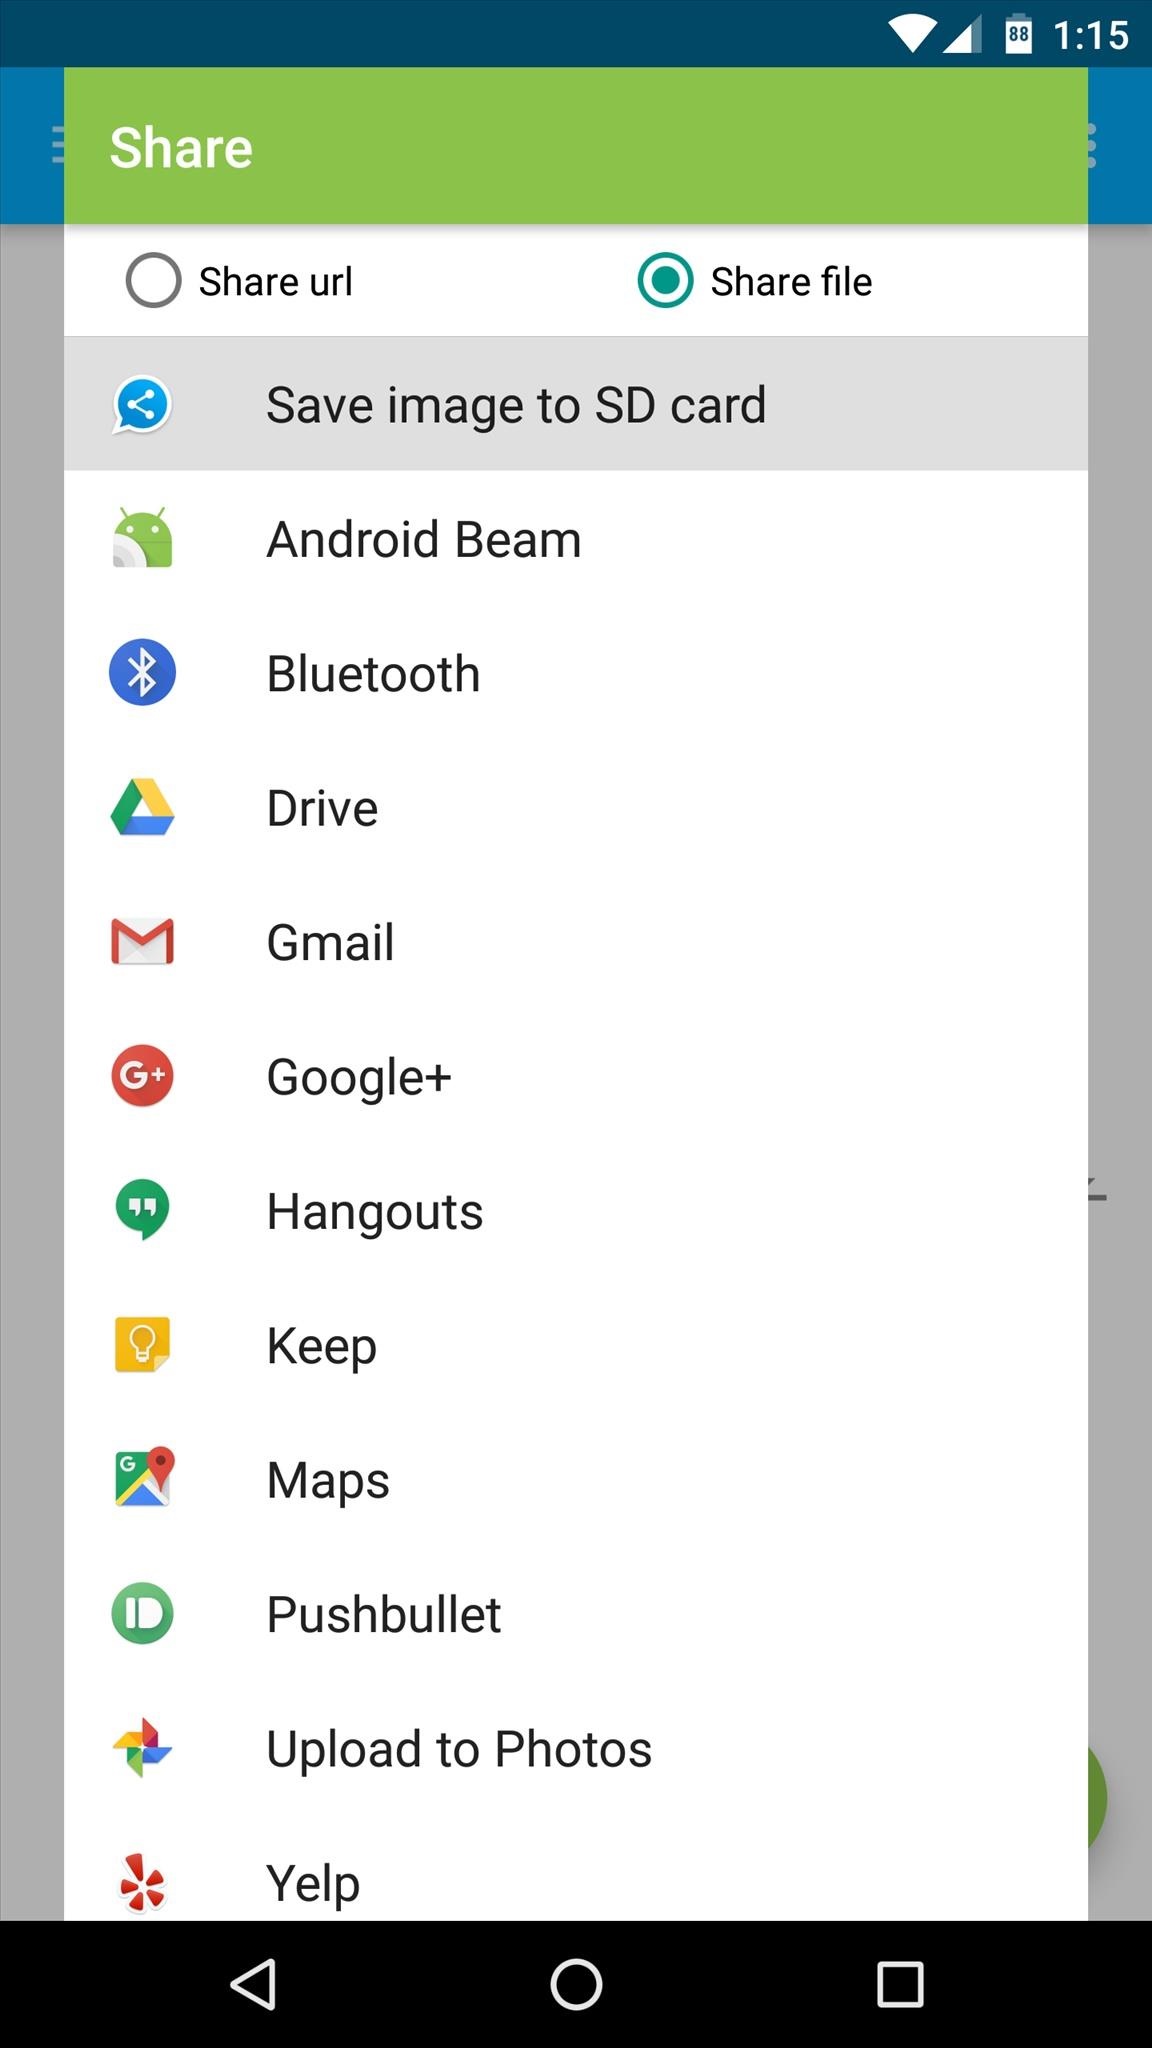
From here, the default share options will let you share a link that allows other people to view your long screenshot on Stitch & Share's website. If you'd rather save a hard copy, though, select the "Share file" option at the top of this menu, then either share the file directly through any compatible app, or tap "Save image to SD card" to store your screenshot locally.


Any saved screenshots can be found in the Pictures folder on your SD card or internal storage, and they're saved as PNG files, so they're compatible with any gallery app or image-uploading site. In the end, Stitch & Share combines your screenshots flawlessly, so it's almost a perfect replica of the Samsung feature.

No comments:
Post a Comment